Taking your own wedding pictures is not as difficult as you may think. With the right equipment, some pre-planning and a little bit of practice beforehand, it is possible to successfully capture your own wedding day.
So how easy is it to take your own photos?
Taking your own wedding photos or doing so without a professional is easy when planned well. Consider investing in or renting professional equipment or utilizing your guests and social media to capture as much of your day as possible. Don’t forget your pose or the impact of light & the background.

Most couples simply part with vast sums of money because they think they have no other choice. However, if you are proactive and want to shave off some of the expense of your special day, then becoming your own wedding photographer is certainly possible.
Read on for my top tips on just how you can do that!
Should you invest in a camera or not?
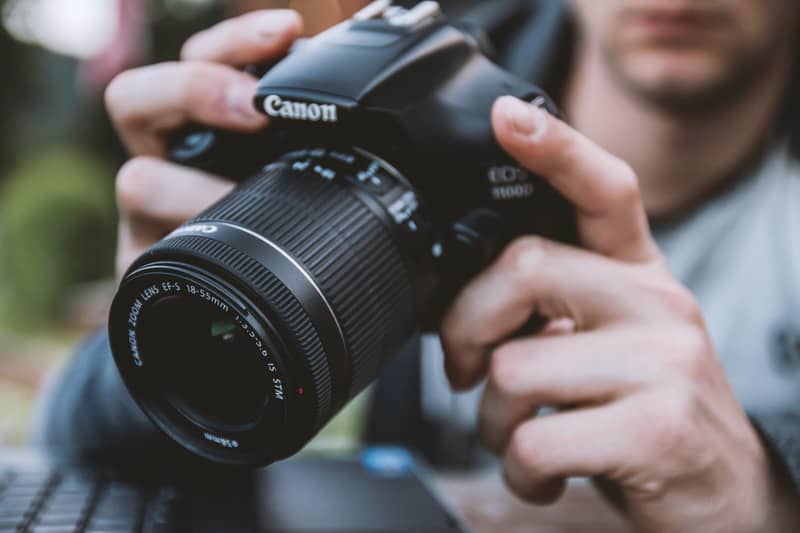
Although it isn’t necessary to have an expensive camera to take good pictures, using a DSLR camera (a camera with interchangeable lenses) will make a big and positive difference to the pictures you take. This doesn’t mean that you have to go out and purchase a top-of-the-range camera and lenses, even an old DSLR camera will give you a high-quality image.
Here are some options:
- If you have a budget to get a DSLR Camera, the Canon Rebel SL3 / 250D and the Nikon D3500 (Amazon link) are probably the highest-rated DSLRs on the market at the moment, for a beginner. The Pentax K-70 (Amazon link), the Nikon D5600 (Amazon link), and the Canon Rebel T7i / EOS 800D (Amazon link) are also great cameras and almost always featured on a top ten list.
- You can also buy a DSLR camera second hand for a third of the cost of getting it new. Sites such as eBay, Sharegrid or Gearoffer all feature offers.
- If buying a camera is not for you, then you could also rent professional photo gear for under one hundred dollars a week. Make sure you are renting both a body and lens, as mostly you will have to rent these individually. Go for a standard lens which is 24-70mm, as it is the most versatile.
- If you are lucky enough to have a friend or family member who owns a DSLR, then ask if you can borrow it. You might even want to ask the owner if they would like to take some shots for you too. They are likely to be interested in photography and have a good eye for it already.
Other gear to consider
Tripod
Stabilize your camera and get a tripod. One of the most effective things you can do to get sharper images is to use a tripod and avoid camera shake (we all shake naturally).
A tripod will also help you capture yourselves together and will make it far easier to take your group shots. Make sure the tripod fits your camera before the wedding and make sure you know how to assemble it and how to use your camera’s timer. You don’t want to waste time trying to figure it all out on the day.
Timers & remotes
Your camera should come with a timer but for more efficiency, you could get yourself a remote. Remotes are pretty cheap and are easier and more convenient to use than a timer. You can also download an APP, which will turn your phone into a remote.
Spares & backups
Be prepared with extras. Unless you like leaving things to chance, get both a high capacity and high-speed memory card of at least 64GB. A cheaper card will save your images slower, it will be less reliable, and there’s also less chance you will be able to recover corrupted or lost images.
Card corruption happens. When it does, you can lose images and you probably won’t be able to continue using the card. Your memory card won’t affect your image quality, but you will feel much safer with a good quality card. Always buy yourself good cards and also have extra as a backup. Also, keep spare batteries charged.
Consider lighting & composition
Pay attention. Always think about what is happening in your image. You don’t want a branch coming out of someone’s head, visible garbage or random people in the background of an image. Look for backgrounds away from people and use bright colors to make things pop.
Choose a backdrop
Try to find an outdoor setting with some greenery, trees, bushes, or a garden with flowers. Also, look out for random and unwanted items that may be visible. Items like someone’s shoes, a water bottle, or a jacket thrown on the grass are often ignored when an image is taken but they can ruin a perfect shot. Similarly, make sure jewelry such as watches, rings, and necklaces are straight. You can notice these things in pictures, especially in close-ups.
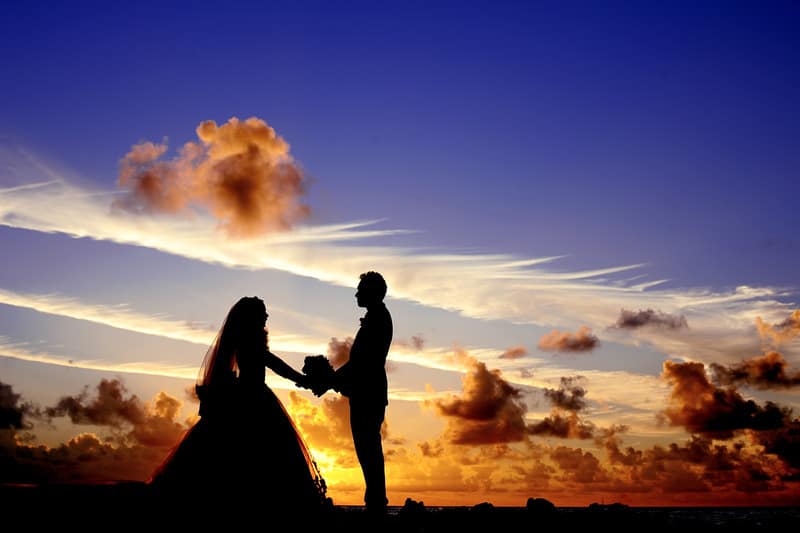
Think about the light
Find the best light. Consider taking your pictures in the late afternoon, the hour before sunset is considered the best time for photography as the sunlight is less harsh and very flattering. Look for bright light, but make sure nobody is squinting. Alternatively, look for shade and try to avoid direct sun that causes shadows across faces. You can use your flash to avoid shadows on faces outdoors but try to avoid using it indoors if you can. Using a direct flash indoors can make an image look dull and very unprofessional. Instead, look for natural light sources.
Use your friends
Consider asking a creative friend or family member to take your pictures. Try and find out which friends have a good eye by looking through their Instagram or Facebook accounts. You could ask them to take a few pictures before the wedding and play around a bit. You could also use two cameras on the day. Use one camera yourself and give another one to someone else. Taking pictures of small details can be as important as getting the big ones and having someone else capture these will help you out.
Alternatively, you could find out if any students would like an opportunity to build up their portfolios. Most photographic students are on the hunt for new models, especially couples, and most would jump at the opportunity to shoot a wedding. Call up your local college and invite students to send you their portfolios.
Should you hire a professional videographer?
As with a photographer, should you get yourself a professional to capture your special day or rely on your own friends and abilities? I’ve gone into a lot more details about this question in another article I’ve written, so if this is something you are wondering about, you can read all about it right here.
Plan & rehearse!
Plan everything. Try to get in some practice with the equipment you will use. You should visit the location and decide on the different places you want to take your pictures.
Make a list of the friends and family you need in pictures too, so no one is forgotten. Do some research on the type of images you like and know what to do to create them. You should plan, practice and use the camera before the day. The more practice you get the easier it will be to take great images.
Post-production editing
You can also consider getting your images edited by a professional if you don’t know how to yourself. Photo editors can adjust lighting, correct blemishes, make you look younger or even make an ordinary image look magical.
Alternative ways to capture your special day
Having a fancy camera and all the professional photography paraphernalia is all well and good, but what if you never plan to continue the hobby after your big day, or just don’t have the budget for any of this?
Never fear, there are some other ways to lock your memories away in a beautiful picture without even picking up a camera yourself. Nowadays most people are walking around with a pretty decent camera in their pocket and what’s more, they all know how to use them effectively!
So, here are some other cheaper options to consider:
- Buy a couple of disposable cameras for each table at your reception and let the guests be your photographers.
- Ask guests to use their camera phones and then create a hashtag they can use to upload everything into an online ‘wedding book’.
- Make a photo booth and leave an iPad, or phone for guests to take their own pictures. This can be made very simply.
If you use the right equipment and create the right environment for your photos, you should be able to get some wonderful images on your wedding day. However, one of the main components of wedding photography is knowing how to pose a couple.
A wedding photographer knows exactly how to make you look your absolute best in an image, this is why people hire photographers. However, although you may not have the experience of a professional, there are some basic poses you can learn that can dramatically change how you take a picture.
How to look good in a photograph.
A good place to start is to look at pictures of yourself, ones you like and the ones you don’t. Try to point out what it is you like or don’t about each image.
Do you like the way you have turned your head in a picture, or do you like the way your body looks in a particular pose? You should be able to quickly work out what your good angles are. Practice posing with a camera or in a mirror so you’ll know what to do. Remember to practicing smiling too.
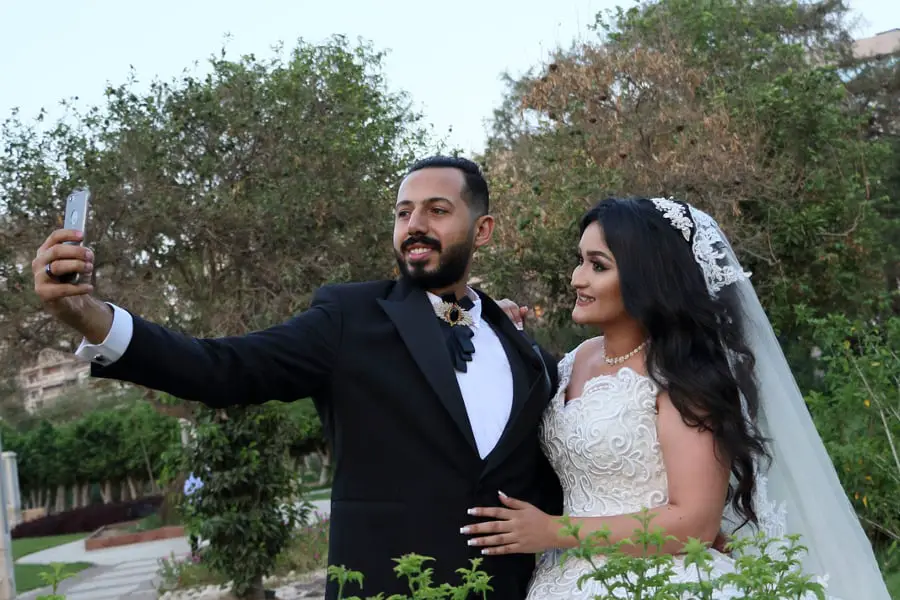
Whoever is closest to the camera will appear the largest. The default rule in wedding photography is that the man should always stand closer to the camera to look bigger and the women should stand away from the camera to appear smaller.
For women:
- Posing starts from your feet up. Put your weight on your back leg with your front leg bent, so your weight is shifted away from the camera. Your spine should be straight, as it elongates your whole frame and you should try to bend your elbows a little. Always try to put a space between your arms and torso to create angles.
- Hands can make an image look awkward if they are just left at your side, so keep them busy and hold something. You can hold the bouquet, the veil, the wedding dress or champagne glass for example. Try to brush back your hair softly with your fingers or softly touch your neck or ear lobe. If all else fails, put one hand on your hip – this pose may be boring but it’s a favorite for a reason.
- Shoulders and hips should be angled away from the camera.
- Your head and chin should be tilted towards your higher shoulder (if you have your hand on your hip this will be your higher shoulder)
For men:
- A man’s pose is in reverse to a woman. Your weight should be on your front leg, and your back leg should be bent for a more masculine pose.
- Tilt your head and chin towards your lower shoulder, unless you are prone to a double chin and want to avoid it. In this case, you could tilt your chin back very slightly.
- Keep your hands busy. You could fix your collar, pretend to button up your suit or adjust your cuffs or watch. Putting your hands in your pockets is a popular but effective one too.
Basic wedding poses.
You can take several different shots with just one wedding pose by changing the way you use your hands and arms, or by changing where you are looking. You could also take both a horizontal and vertical shot, or get a mixture of closeups and full-length shots. It’s a good idea to take a lot of different shots so you’ll have a good selection to choose from.
The v- up
- Your bodies should touch at the hips with your back arms around each other’s waist.
- Hands can be anywhere as long as they are not straight. For example, the woman’s hand could be on her hip and the man’s hand could be his pocket. You could also hold hands, but don’t intertwine your fingers too much as it doesn’t look good in a picture. Just touch your hands lightly together.
Open up
- Hold hands and stand apart with your feet towards the camera.
- You can look at the camera, at each other or even get in a kiss
Closed-up
- Face each other and stand very close
- You can kiss, look lovingly at each other with your arms wrapped around each other’s waste, or just hold hands.
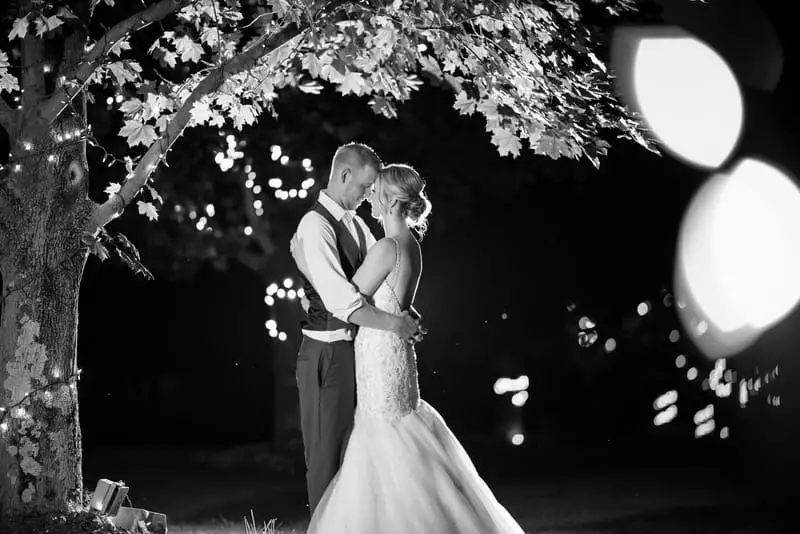
The stacked pose.
- The groom should stand behind the bride with his arms around her.
- You should both look out into the distance
- This is a good shot to do if you have a view to capture.
- One of you could even look at the camera, and the other at that person, in one of the shots.
What to take pictures of.
Making a list of the things you want to capture on your day, will make everything run smoother and you won’t miss anything. Some ideas from a wedding photographer are:
- Getting ready.
- A silly, personality pic of the two of you individually, and as a couple.
- The bouquet
- Your shoes
- Individual bridal party shots
- The reception space
- The cake
- The tables and centerpieces
- Rings
- A formal groom portrait
- A formal bride portrait
- The bride’s hair
- A full shot of the bride in her wedding dress.
- The bride and groom with both sides of the family separately, and as a group shot.
- Siblings together.
- Little ones on the day ( they always look cute and add a great memory)
Making a photo booth
Making your own photo booth for your wedding day is a great way to get some fun and natural shots of all of your friends and family. It’s cost-effective and does turn out wonderful if you put a bit of effort into your backdrop and lighting.
- Setup it up in a visible location with lots of props and a camera on a tripod for guests to use. You could also use an iPad or an old phone. Just make sure there is enough memory on your device. Alternatively, set up a hashtag and get your guests to use their own cameras and then tag them on Instagram so you’ll be able to access all of the images afterward.
- Create a backdrop that is at least 6 feet x 4 feet to match the dimensions of most camera formats. To make it you can buy fabric to put up on a wall, use wrapping paper, hire a photo backdrop or simply add some sparkle to a plain colored wall. Just make it look special. For inspiration, take a look at these ideas at Oh happy day or the photo booths ideas on Pinterest.
- Make sure it is well lit. Bring in some lamps for extra lighting, you can buy any cheap, old lamp. As long as you’re using a bulb that says daylight on the box it will be fine. You don’t want shadows.
- Make or buy some props. Masks, signs, hats, and funny costumes are a lot of fun. Make a theme and go with it, the crazier the better.
Related questions.
What lense is best for wedding photography?
Camera lenses come in a variety of different focal lengths, and although the best lens for shooting a wedding depends on the photographer’s shooting style, the most popular lense for wedding photography is the 24-70mm. This lens is wide enough to capture the entire ceremony in one shot, but you can use the telephoto for close-up shots and portraits.
Can you shoot a wedding without a flash?
It is possible to shoot a wedding without flash, however, you do need to consider what the location looks like. If natural light exists, then a flash is not necessary, but if the venue is poorly lit (like in a cathedral or when the disco lights go on ), then you will need to use a flash.
How much will I pay for a wedding photographer?
In the U.S, generally, a wedding photographer will range between $1,100 and $10,000, depending on their experience and what you require from them. However, the average in most states is about $3,000, or about 12% of your wedding budget.
How long does it take to photograph a wedding?
Depending on how many pictures you need, you can estimate spending about 30-60 minutes for family pictures and group shots, 30 minutes for the couple and about another 30 minutes for the wedding party.